Many people asked me this question that how we can get our pictures in the search results of Google. Here is my blog post on how to get Google authorship markup to display your picture on Google search.
To be very frank the idea of writing blog on Google Authorship came into my mind when I received a few comments on some of my recent blogs like basic tips for newbie bloggers and how to improve your MozRank etc.
Many friends of mine mailed me that they wanted to know about Google Authorship and hence I decided to come up with this blog post.
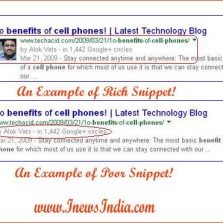
Google Authorship is a program through which you can link the content whose author is you from a particular domain to your Google+ profile. Thus Google can confirm that you being the author of this particular post and hence will display your short profile along with your link in the search engine results page (SERP).
It will be something like this:
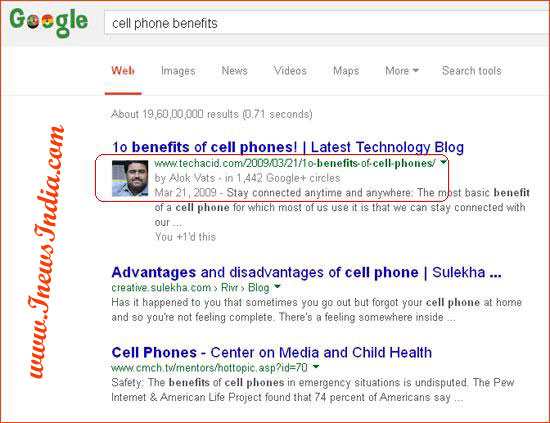
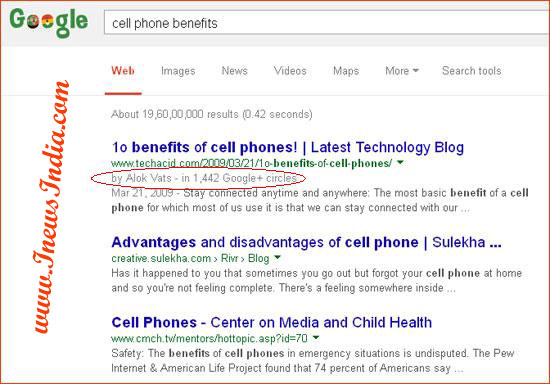
Sometimes it might also be displayed like this:
There is a specific tag known as rel=”author” which is being used to establish this connection between your blog and Google+ profile.
I am not at all surprised to hear this that many people wonder why some people’s pictures are showing up in the search results pages on Google. I am sure you too had wondered about this?
So you too wanted to know about how they do it.
Read on this blog post of mine to know what Google Authorship program is and how you can take benefits of it.
As I said above that it is a program through which you can link your Google+ profile with the contents which you publish on your websites or blogs. It is a way to let Google know that you are the owner of those pages which are having this rel=”author” code associated with your G+ profile and hence they will display your authorship on search results pages.
You must have seen that if 10 results are displaying on a SERP, only 3-4 or 5-6 posts are having with rich snippet. Now those who are not aware about rich or poor snippet can actually see this image:
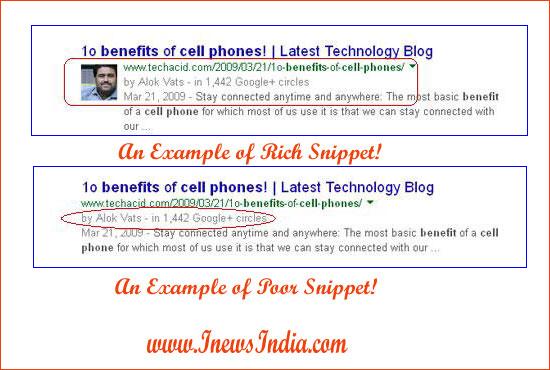
So you might think about why Google displays the authorship of only a few selected results, why not for every result?
The reason being it is required that you should confirm your authorship, else Google will never think about displaying the authorship of any link.
Well, there are a few steps through which you can do confirm your authorship on Google. Here are those steps:
It is like creating yet another account in a social networking site. You might ask me why? Why should I create yet another account on a social networking site?
Well, it is true that you are creating yet another account on a social networking site, but then you need not to remain active on that site to get results. Your authorship once established will still work for you and can be established only if you will have a Google+ profile with some basic information about you.
Since you created your profile on Google+, now you need to verify your email address through it.
There are a few things which you need to understand over here. You need to give the same name of your profile which you are using on a byline at your site (for example by Alok Vats on my blog).
Visit to http://plus.google.com/authorship and you are done. You just need to verify the email which Google will send to your email id.
Is the above process seems a bit tough for you? I don’t think so but then still if you have any issue with it, let’s discuss an alternate way to establish the authorship.
Here is yet another way to establish Google Authorship of your website:
Here comes the role of rel=”author” into this. Give a link from your webpage in this manner:
<a href=”Your_Profile_URL?rel=author”>Google+ Profile Name</a>
Just for an example, if I want to establish Google Authorship I will give a link with this code:
<a href=”https://plus.google.com/112364817462559953005?rel=author”>Alok Vats</a>
Thus this will link my Google+ profile from my sites.
Although Google don’t like reciprocal links, but in this case they do promote the same 🙂
Once you linked to your G+ profile from your website, visit your Google+ account and click on Edit Profile option. Next select the contributor section and add a custom link into it. Click on Add Custom Link. You can get this contributor option on the right sidebar.
Simply give the link to your website and save it.
You are done with the Authorship.
If you want to check whether your Google Authorship is working fine for your website or not, simply do visit http://www.google.com/webmasters/tools/richsnippets and give your URL into it and click on Preview. Mind it that the URL which you are giving must have those rel=”author” code into it.
To be very frank other than the benefits of authority your website will have a higher CTR (Click Through Ratio) from the search engine result pages, which in itself is crucial.
Hope this blog post of mine will help you to understand it properly and you would definitely try to implement this on your website or blog. Please do let me know your feedback, or comments about this post. You can also comment any doubt if you do have regarding this. I will be waiting for your comments on it.
Leave a Reply