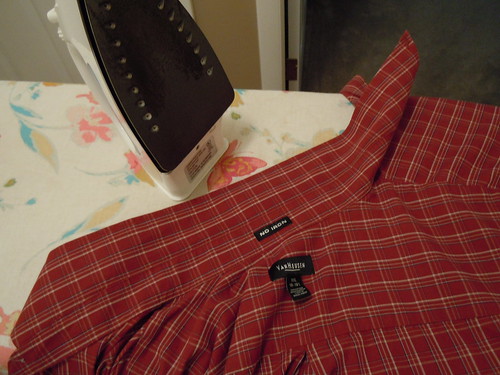
No one likes ironing, and if there’s one item of clothing that tops the list of most-hated and most-difficult item to iron it’s the shirt. It has pockets, buttons and a collar which, if ironed incorrectly, may not sit or look the way you wish.
Before ironing your shirt it is vital you read the label and find out what temperature to iron it at – ironing a silk shirt at the temperature you normally iron a cotton one for example will only lead to disaster! If the temperature is too low however it will be hard to remove the creases from the shirt and you’ll work twice as hard. So, once you’ve worked out the temperature and your iron is hot enough, here’s just how to go about ironing it…

1. The Collar
For a professionally ironed shirt, always start with the collar – don’t leave it to the end. It is important that you iron this part of the shirt properly because this is the most noticeable area when worn, especially if you have a jumper or a jacket over the top. Pop up the collar and begin to slowly press your iron over the underside of the collar. After you have done this, flip it over and iron the outer side of the collar until it’s perfect.
2. The Cuffs
These are very visible too when worn so they must be ironed to perfection if you want to look neat and smart at work! To iron these you must unbutton the cuffs and place them flat on the ironing board. Next, you should press the iron over the inside of the cuff to ensure it is left smooth, then repeat this step on the outside of the cuff. After completing this, gently iron around the buttons but make sure that you do not iron over the button as this can melt the buttons, especially if they’re plastic, and leave a mark.

3. The Front & Back
Now iron the main body at the front and back of the shirt, being careful not to iron over the buttons here either. Move the iron gently around them, ironing in between so that the central line down the front of your shirt sits perfectly flat when worn. Slip the shirt over the end of your iron to do this, so that you are only ironing one layer of fabric at a time. Turn it as you go until both the front and back are done.
4. The Sleeves
Some people find this is the most difficult part to iron because of the fact that you will be ironing two layers of material – unless you have a fancy iron with a miniature sleeve board of course! You should make sure they are placed flat and smooth on the board before you apply the iron so that you will be ironing creases away, not ironing new ones in. Then simply move your iron from the top of the sleeves down to the cuffs and repeat this on the other side of the sleeve.
There you go – four steps to looking perfectly polished at work! Do you have any of your own shirt ironing tips you’d like to share? Leave me a comment below…
Michelle Star writes for Bray Cleaning, a professional cleaning company who also offer low priced ironing services to busy housewives, working professionals and businesses too. Their ironing services prices are some of the cheapest around!

Leave a Reply